
How to Install

Before getting started.

What tools are required for this task?
  • Pen
  • Battery-powered drill with a Phillips head screw bit
  • Installation screws (included, unless mounting on a material other than timber)
  • Metal tape measure
  • Step ladder
Where will you install your blind?

For timber surfaces, it's recommended to pre-drill holes using a 1/8 inch drill bit before fastening the blind with the provided self-tapping screws.

When mounting the blind onto MDF, pre-drilling is unnecessary. Just use the self-tapping screws provided.

For plaster surfaces, we suggest using the Ramset 1/8 inch grip hollow wall anchor for optimal performance.

For concrete, stone, brick, or tile surfaces, utilize a masonry drill alongside suitable plugs, anchors, or screws. Please be aware that we do not supply screws for this purpose.

Step 1 - Arranging your blinds

Organize each blind in the room according to its labeled position, and take note of the chain side and roll direction. The positioning of your blind in relation to the window will differ based on the window style and the specified fit as per your order.

To prevent leaving fingerprints, open the packaging with clean hands.

Useful tip: Place the blinds on a layer of plastic wrap to shield them from dirt and to clearly distinguish their details, reducing the risk of confusion.

Regarding Single Roller Blinds:

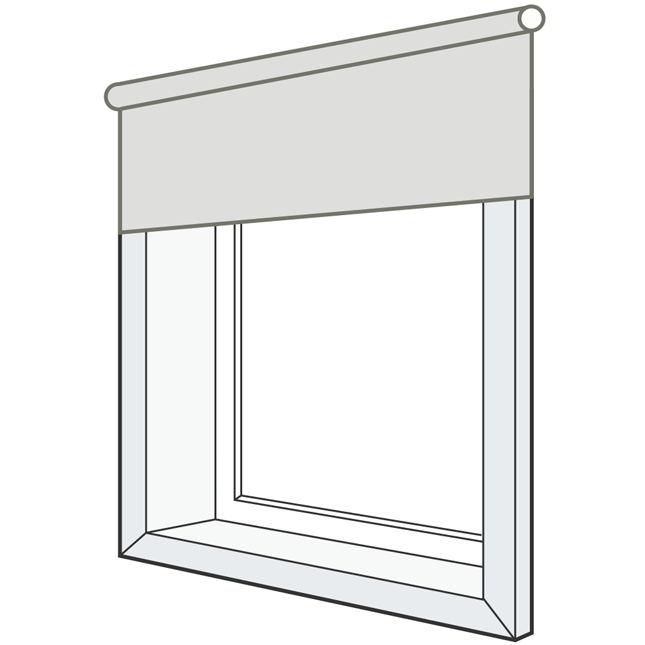
Outside Installation

Mounting onto the architrave or wall

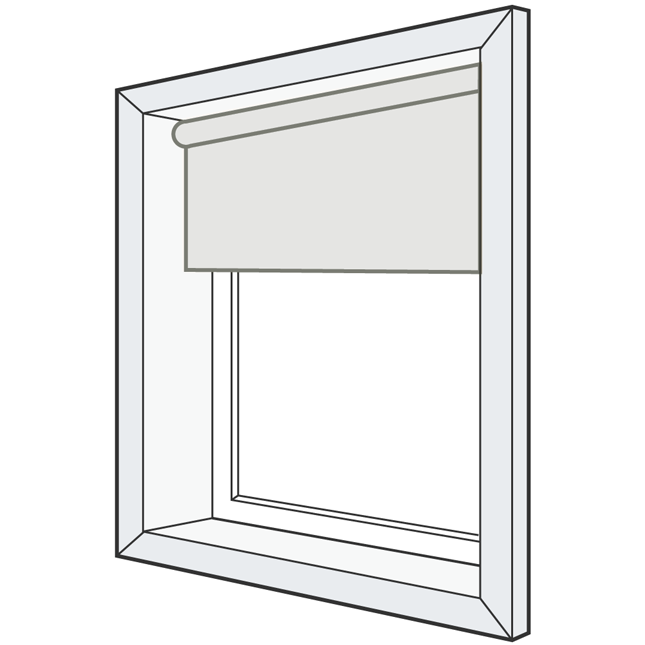
Inside Installation

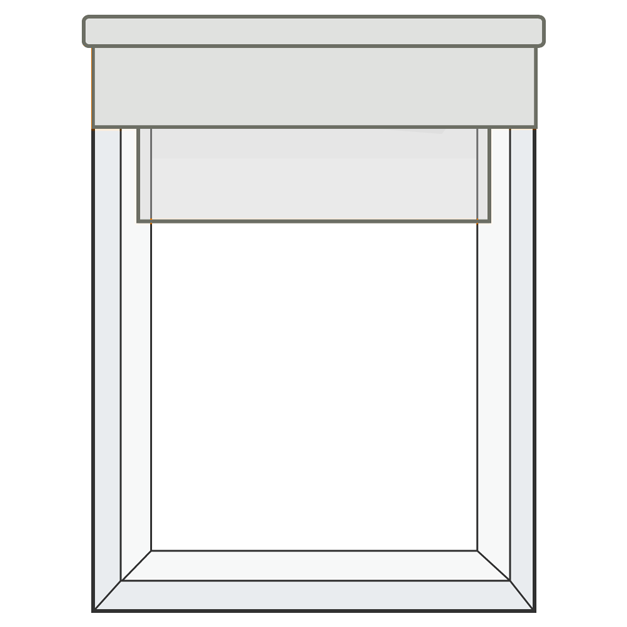
Install the blinds inside your window frame.

Regarding Double Roller Blinds:

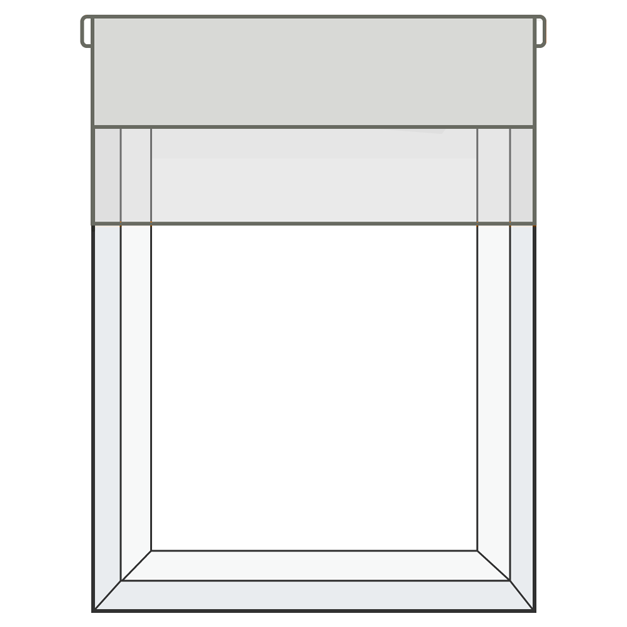
Outside Installation for Dual Roller Blinds

Mounting onto the architrave or wall for Dual Roller Blinds.

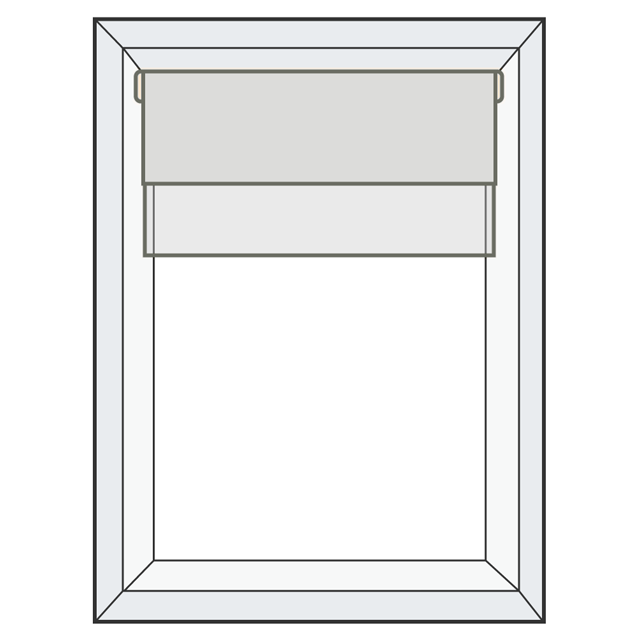
Inside Installation for Dual Roller Blinds

Install the Dual Roller Blinds inside your window frame.

Combination Installation (Combining Inside and Outside Mount)

Mount the blinds on both the architrave or wall and inside your window frame. Please be aware that the face fit blind will be larger than the recess blind in this specific scenario.

Step 2 - Installing the Brackets

In relation to Single Roller Blinds:

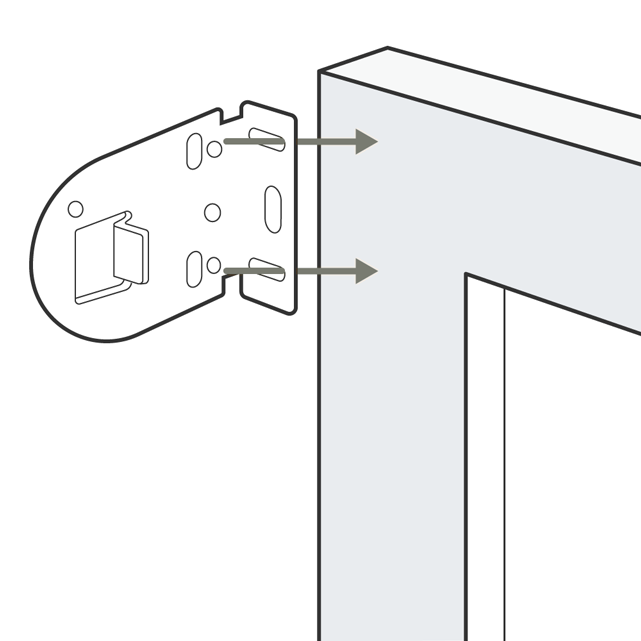
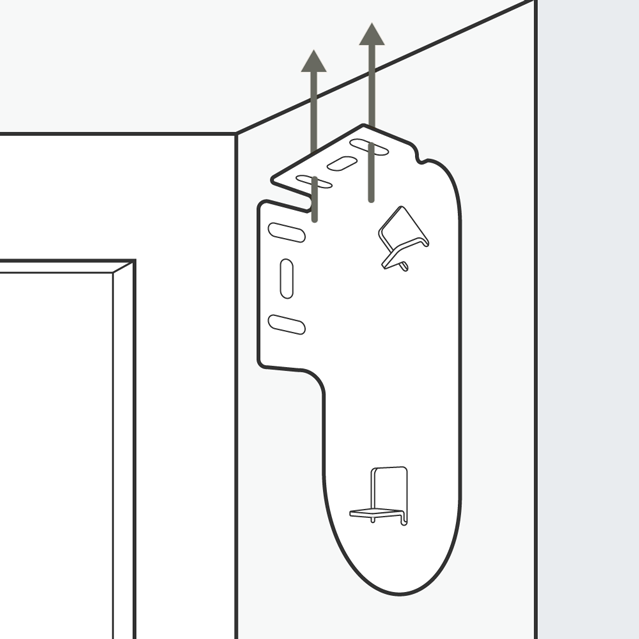
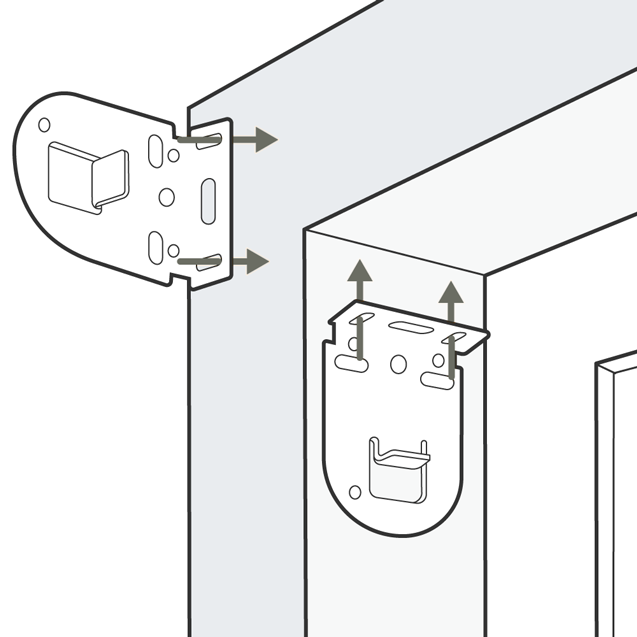
Mounting Brackets for Outside Installation

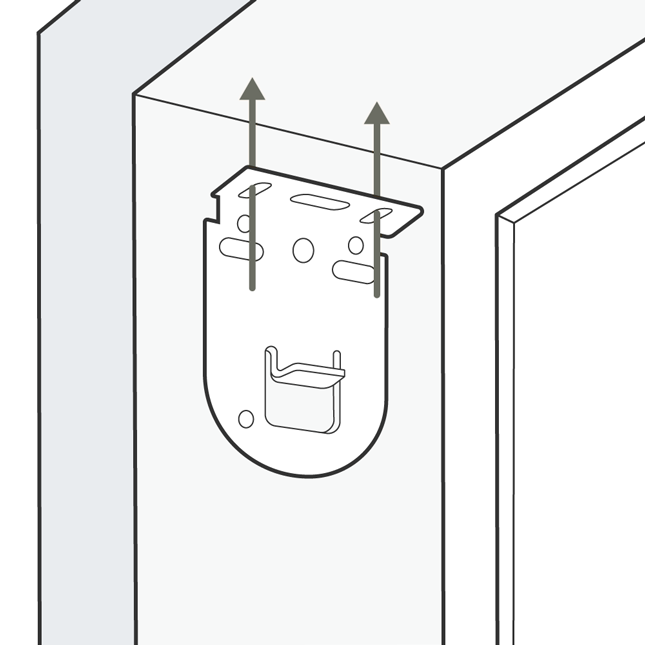
Mounting Brackets for Inside Installation

  1. Position the Chain Drive bracket on your preferred side for the chain.
  2. Use a pencil to mark the screw hole positions.
  3. If necessary, pre-drill two holes and securely attach the bracket using screws.
  4. Repeat the same process for the Pin End bracket.

Regarding Dual Roller Blinds:

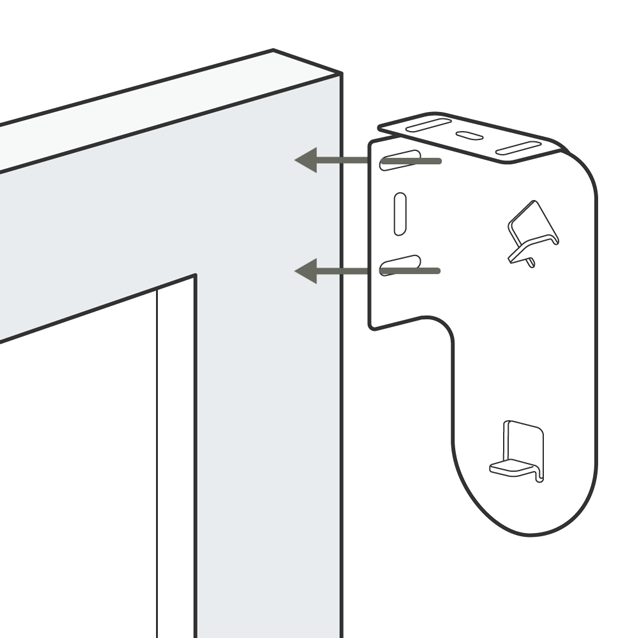
Mounting Brackets for Top-Front Outside Installation

Mounting Brackets for Top-Front Inside Installation

Brackets for Combined Installation (Mix of Outside and Inside Mount)

Step 3 - Placing the blind

Useful Tip:

For larger blinds, it's recommended to have someone assist you in holding them in place.

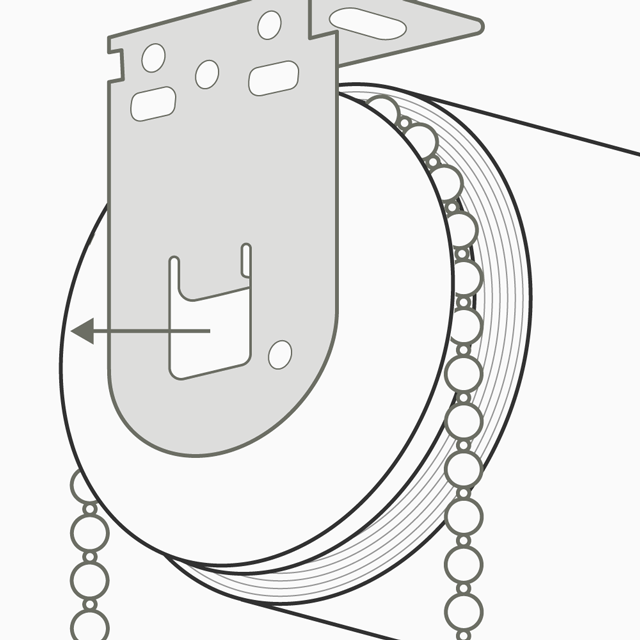
The Control Brackets

When the blind is rolled up, begin by inserting it into the Chain Drive bracket. Make sure that the part where the chain is covered by the bracket is correctly aligned at the top. Failure to do so could result in challenges when winding the blind and potential damage.

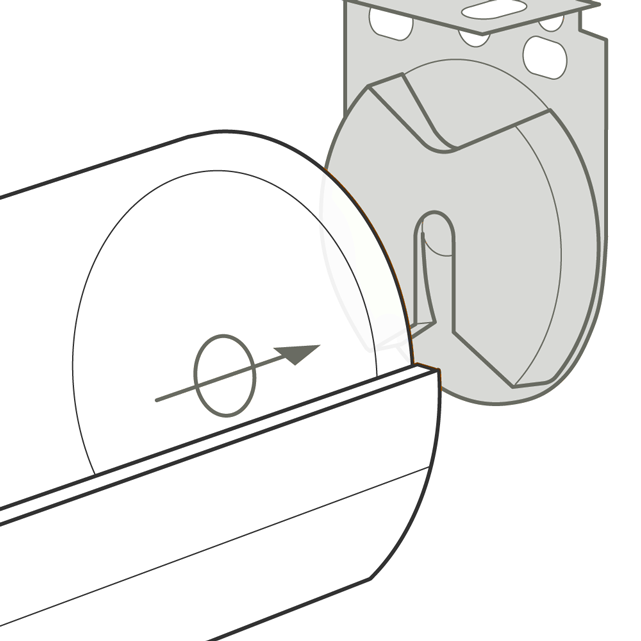
Idle End Bracket

Securely insert the Idle End of the blind into the Pin End bracket, ensuring it clicks into place.

Helpful Tips and Troubleshooting

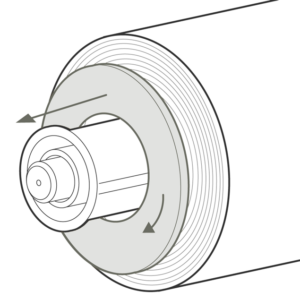
Pin ends provide the flexibility to make adjustments if there's any mismeasurement of the roller blind. By rotating the clear plastic cog, you can extend the pin in 1mm increments, with a maximum extension of 8mm.
 

Step 5 - Installing the Child-Safe Cord Tensioner

Important Notice: In compliance with Australian Child Safety Laws, it is mandatory to install a cord tensioner if the chain is located less than 1.6m from the floor. This requirement is aimed at minimizing the risk of strangulation.
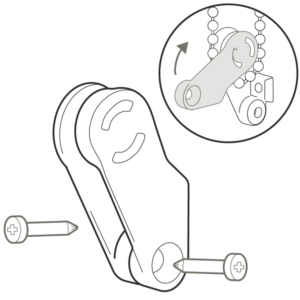

  • Place the tension device at the bottom of the chain loop, either inside or in front of the window frame.
  • Secure the tension device in an area inaccessible to children.
  • Ensure there is no excessive tension in the chain, leaving 2-3cm of slack to prevent strain on the chain.


Helpful Tips and Troubleshooting

Identifying the Issue: Operational Challenges and Clunking Noises from the Blind

Potential Problem: Incorrect positioning of the blind in the Chain Drive bracket Solution: Return to Step 3, "Placing the blind," and verify that the blind is correctly inserted. Pay close attention to the end cap to ensure it hasn't been rotated out of position. Ensuring proper alignment and positioning of the blind within the Chain Drive bracket should resolve the issue.

My blind's tracking direction is off.

Roll up the blind and attach a 10cm strip of masking tape to the aluminum tube, emphasizing the desired direction for the blind's movement. Add more layers of tape if necessary to ensure the blind rolls up evenly. If this doesn't resolve the issue, please reach out to us for additional help.

What's the most effective method for cleaning my blinds?

You can utilize a damp cloth, but ensure not to scrub too vigorously to prevent damage to the blockout coating. Curious about our recommended approach for achieving spotless blinds? Baby wipes are our hidden gem!

I've observed a curve in my blind. How can I correct it?

The fabric of the blind might develop a curve during transit or if it remains in the same position for a prolonged period. Fortunately, this issue typically rectifies itself over time.

I'd prefer to have the chain on the opposite side..

Kindly remove the end caps and brackets, then swap their positions to the opposite sides.

How to Install